VS Code from Winstat to Linstat
SSCC users can use VS Code installed on Winstat to connect to Julia running on Linstat. An advantage of using VS Code is that you can run an entire script, a block of code, or a single line. You can also step outside of your code and issue single commands on the same Julia workspace from the terminal - very handy for debugging or just generally checking your work as you go along!
Using Winstat simplifies setting up VS Code to work with Julia. It also gives you access to the Windows File Explorer for file and folder management.
- Log on to Winstat
- Launch VS Code
- Install the Remote-SSH extension
- Connect to Linstat
- Install the Julia Language extension
- Begin working in Julia
- Open or create files
- Run selected code
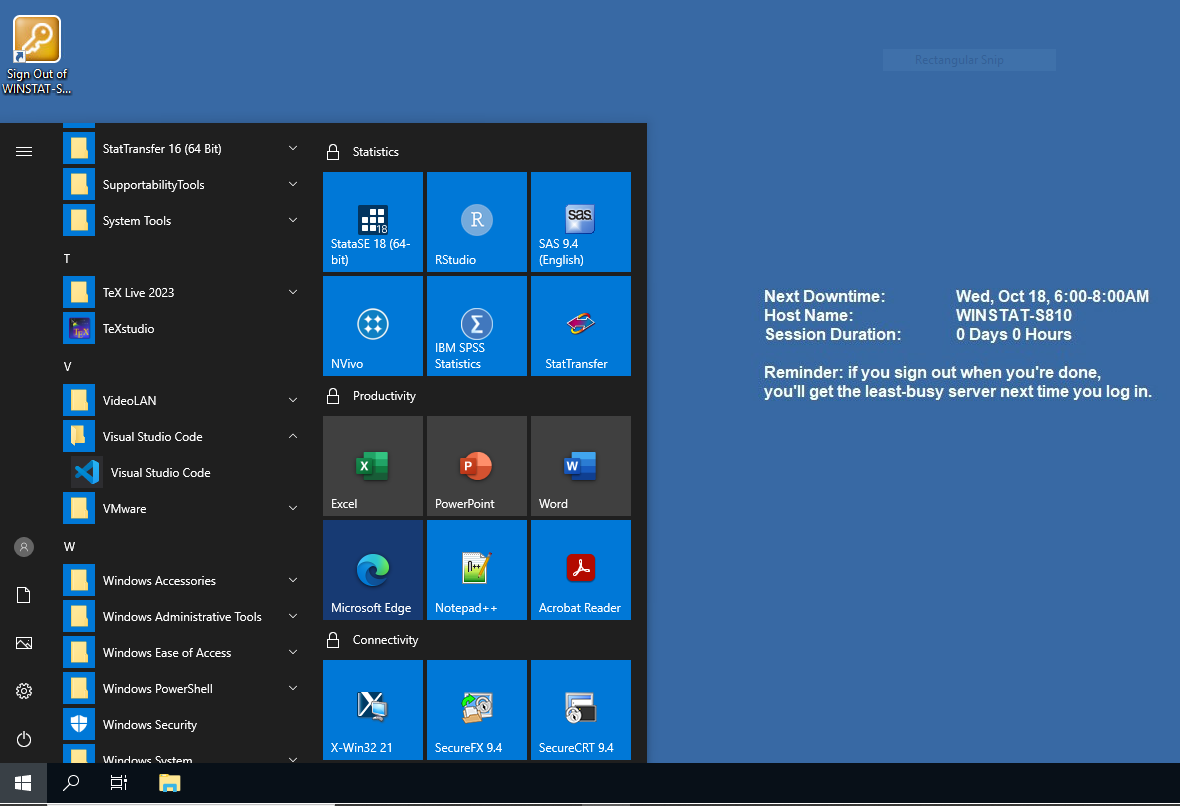
Launch VS Code on Winstat
On Winstat this is buried in the Windows Menu, near the bottom. (You could create a shortcut on your Winstat Desktop if you will use this often.)
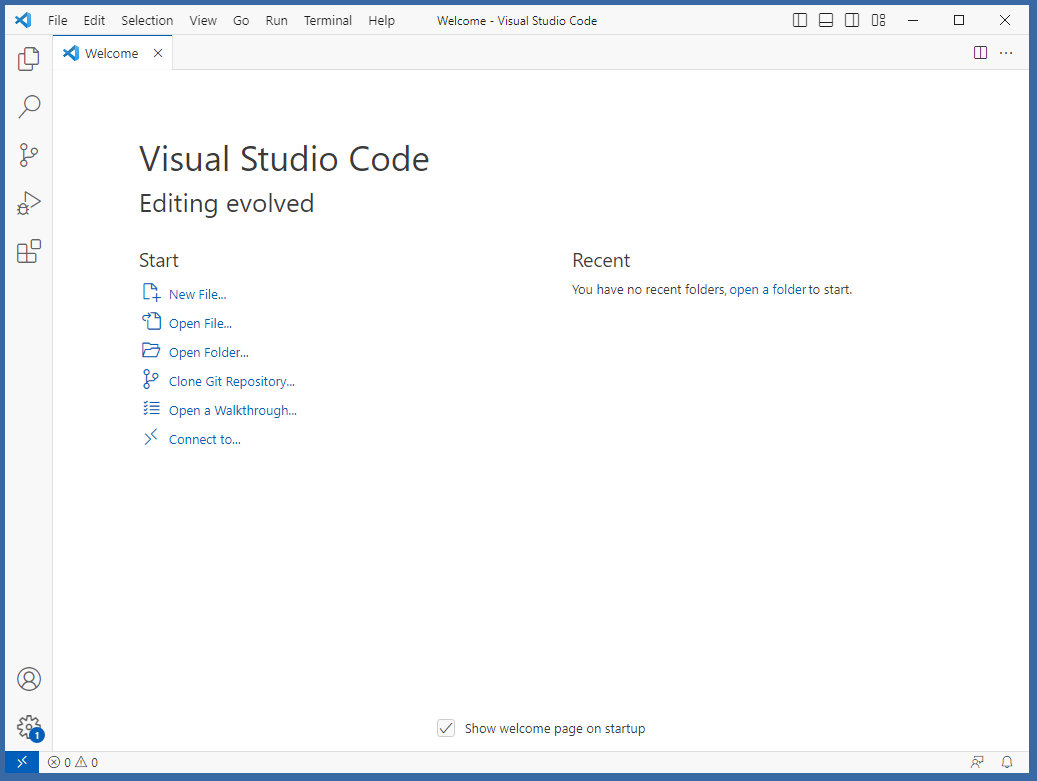
A freshly installed VS Code would look like this (after you select a color theme):
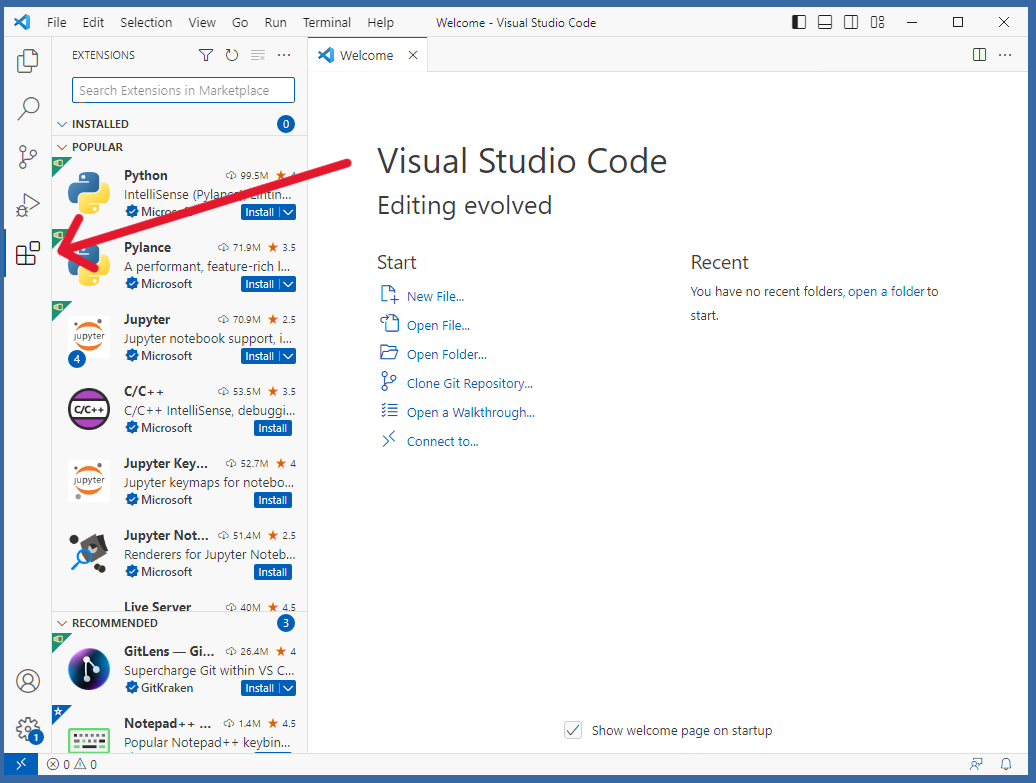
Install Remote-SSH
Next select the VS Code Extensions marketplace. This is the last icon in the left-hand bar, the extensions icon.
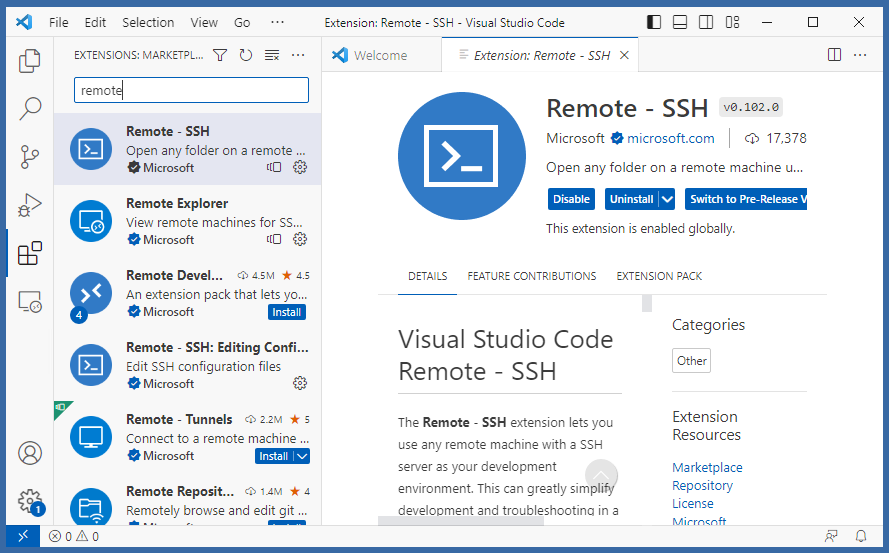
In the search bar at the top, type in remote, select Remote-SSH, and click Install. (This installs two extensions.)
Connect to Linstat
You are now ready to connect VS Code to Linstat. In the lower left corner of the VS Code window, click on the tiny blue icon, the connection icon.
A dialog box appears at the top of VS Code asking what sort of connection you’d like. Select “Connect to host” or “Connect current window to host”.
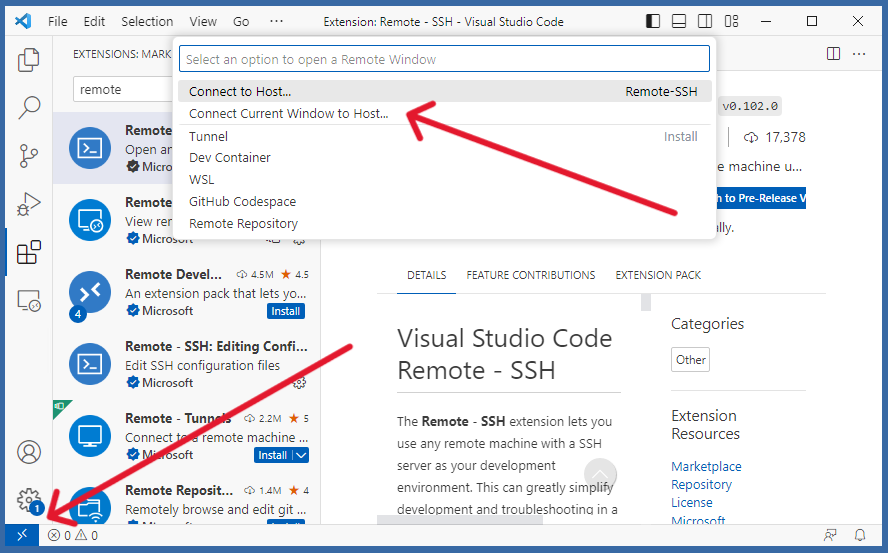
The first time you do this you will be asked to configure a connection.
- the host name is
linstat.ssc.wisc.edu - the host type is Linux
Once configured you may need to click the blue connection icon a second time to actually connect to Linstat. Again click “connect current window to host”, and pick “linstat” from the list.
You need to supply your SSCC password.
Install the Julia Extension
Once connected to Linstat, search the extension marketplace for julia, and click “install” for Julia Language Support.
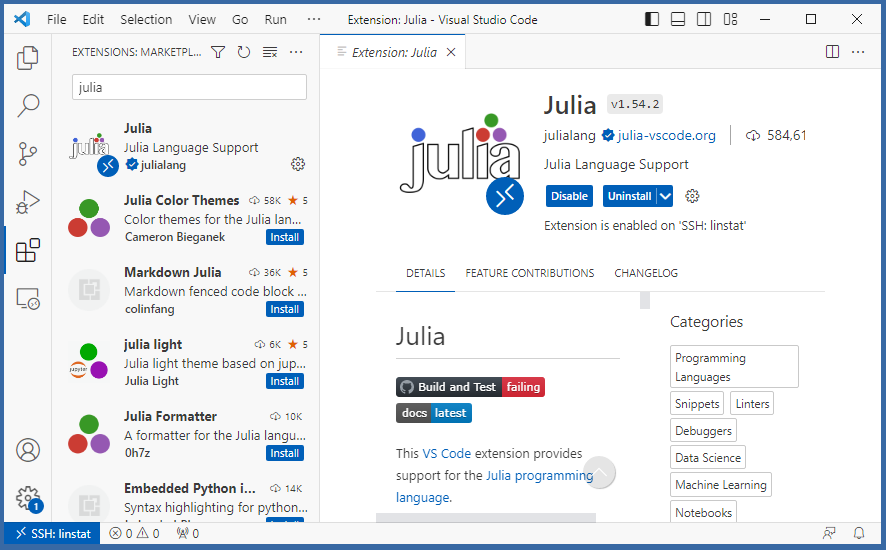
It is important that this is installed on the Linstat server. Once installation is complete, it should say “Extension is enabled on ‘SSH:linstat’” in the main Window.
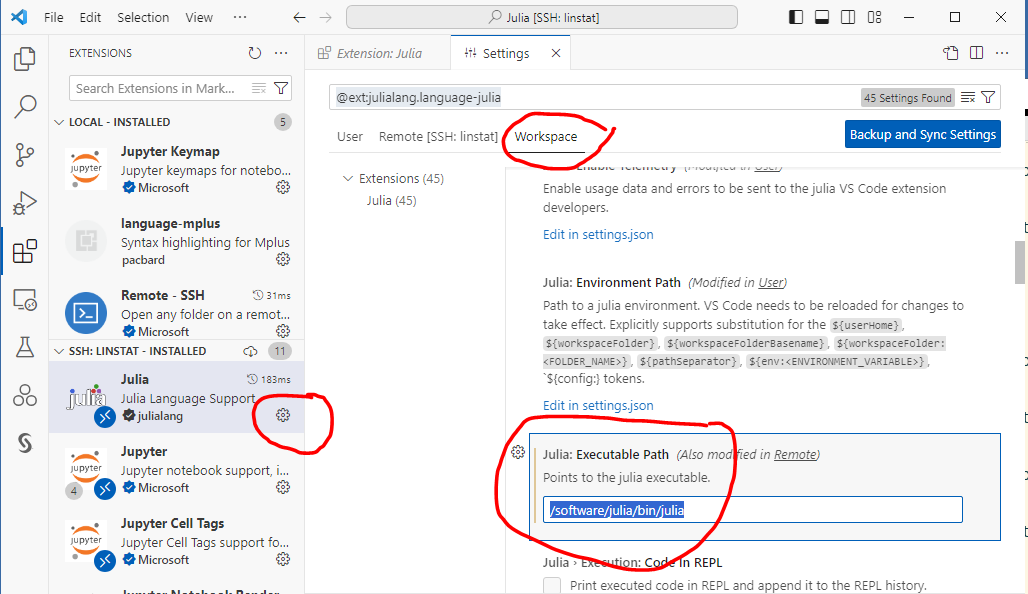
Another check is to clear the search bar in the extension marketplace. You should see the Remote extensions installed locally (on Winstat), and the Julia extension installed on SSH:Linstat.

Once you have the Julia extension installed on Linstat, open the extension settings. At the top, select the “Workspace” tab. Scroll down to the Julia: Executable Path setting. Fill in “/software/julia/bin/julia”.
Begin Working in Julia
If you already have projects and files saved on Linstat (or Winstat’s Z:/ drive), use the VS Code File Explorer to find and open a Julia (.jl) file. The Explorer is the top icon on the left. When navigating to new folders, you will be asked to re-authenticate.
Open or Create a Julia Script
Simply select your Julia script in the Explorer.
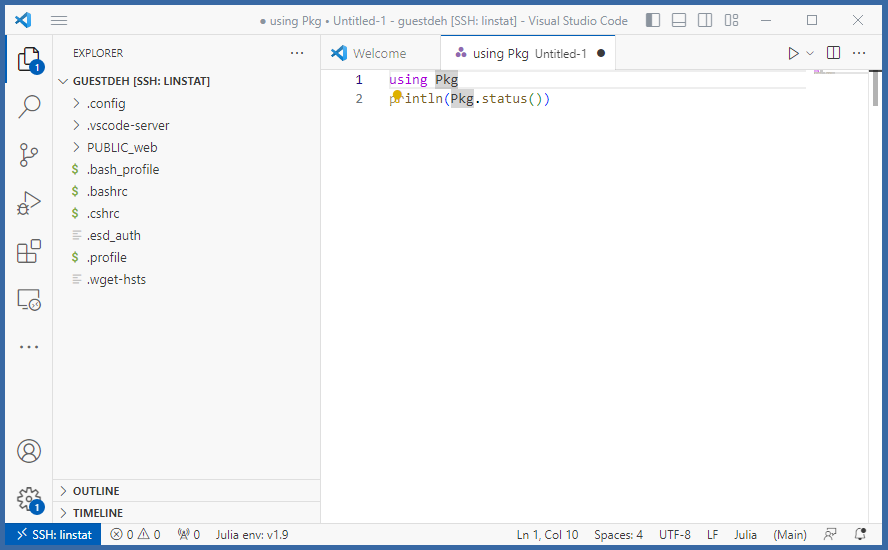
To start a new Julia script, click on New File and pick the Julia file option from the list of file types at the top of the VS Code screen.

Running Julia Code
To run your entire Julia script, click on the “run” (“play”) icon at the upper right.
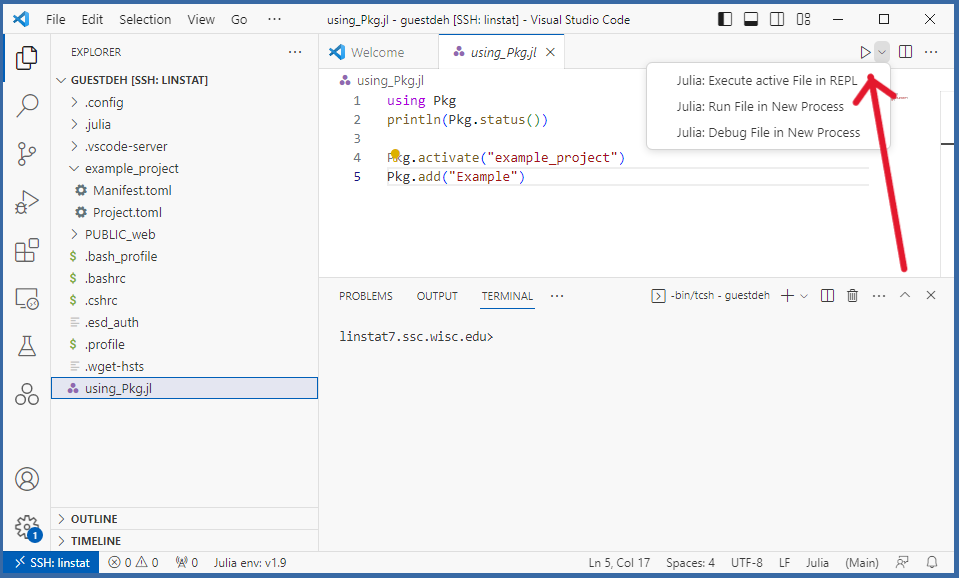
Your standard output goes to the Terminal at the bottom of the VS Code window.
To run a single line, place the cursor on that line and use the Ctrl-Enter key combination.

Once the Julia server has started, you can also type commands directly in the Terminal.
Futher Documentation
There is a whole lot more you can do using this interface. See Julia in VS Code